Relieve Lower Back Tension: A Core Reset Flow That Really Works
Jun 25, 2025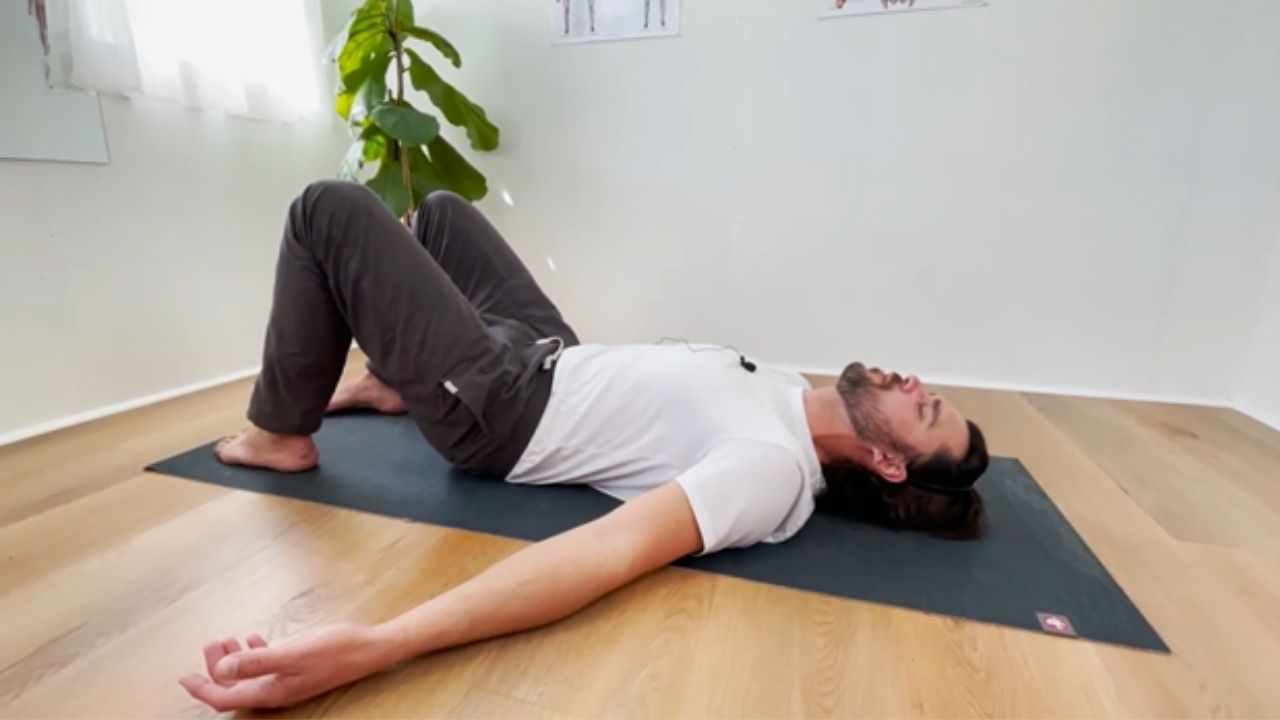
Let’s walk through a flow sequence for back tension release, helping you reset your core, relax your spine, and alleviate chronic lower back pain.
It’s something I come back to again and again — not just to relieve tension in the moment, but to retrain how my body moves and builds support long term.
You might recognize this sequence from earlier in the Core Balance Training program. It builds on the back anchor connection, and it’s one of the most effective tools I’ve used for both immediate relief and deeper core integration.
Let’s walk through it step by step.
Step 1: Start in the Back Anchor Position
Lie on your back with your knees bent and your feet flat on the floor. This is your starting point.
I always begin here because it gives your body a chance to settle. Take a few deep breaths and let your lower back soften into the floor. Don’t rush this part. Let gravity do the work while you give your body permission to relax.

Step 2: Engage the Core and Bring the Ribcage Down
Now bring your attention to the bottom of your ribcage. Gently guide it down toward the floor so it connects with the surface beneath you.
As you do this, your pelvis may naturally lift slightly. That’s a good sign. It means your core is starting to engage, and your spine is beginning to decompress.
This shift happens because of a principle called reciprocal inhibition. When your core muscles contract, the opposing muscles (in this case, your lower back) begin to release. You’re not forcing anything. You’re simply allowing your body to find balance.
Step 3: Breathe into the Release
Stay in this position and breathe deeply. Let the breath expand into your lower back and sides.
Imagine your breath gently widening the space around your spine. With each inhale, you’re creating more room. With each exhale, you’re helping your muscles let go.
Keep your core lightly engaged. This combination of breath and support creates a decompression effect that gives your back muscles permission to relax.
Step 4: Add the Floor Angel for Movement Retraining
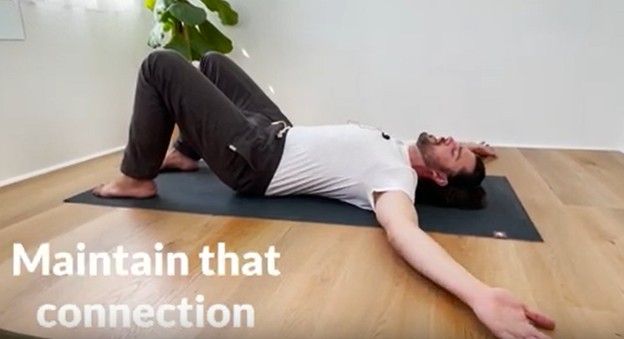
When you feel ready, bring in the floor angel movement.
Start by slowly sliding your arms along the floor in a wide arc, like you’re making a snow angel. The key here is to keep your ribcage and back anchor connected to the floor. Your core is your foundation.
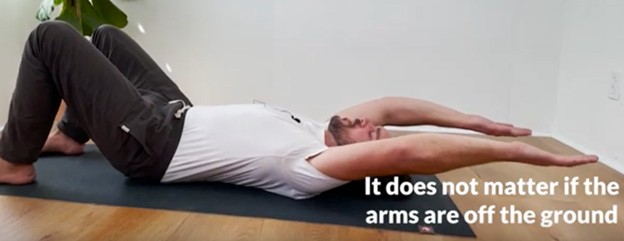
If your arms lift off the ground, that’s okay. This movement is about retraining your body to move your upper body while keeping your core connected. You’re teaching your nervous system that your arms can move freely without the rest of your body falling out of alignment.
Step 5: Build Awareness of Your Core and Ribcage Relationship
This flow isn’t just about stretching or relaxing your back. It’s about learning how your ribcage and pelvis work together.
By bringing your ribcage down in relation to your pubic bone, you’re training your body to hold better alignment. That kind of awareness is hard to feel when you’re upright. But on the floor, you’ve got the feedback of the surface to guide you.
Over time, this awareness becomes something you carry into every other movement you do.
Step 6: Focus on the Foundation
Think of this like building a house. The core connection and back anchor are your foundation. Movements like the floor angel are useful, but they only work if the foundation is solid.
So take your time here. Stay connected. Don’t worry about how far your arms move. What matters most is that you stay grounded through your ribcage and pelvis while you move.
That’s how you build strength and control from the inside out.
Step 7: Maintain Good Posture Without Compensations
Doing this on the floor has another big advantage. It helps you find proper alignment without falling into the usual traps.
If I asked you to bring your ribcage down while standing, you might shrug your shoulders or hunch forward without realizing it. But on the floor, those patterns aren’t as available. You can stay more honest in your form and learn what true alignment feels like.
This sets the stage for better posture and stronger movement when you’re upright.
Step 8: Feel the Reset
After just five minutes of this flow, most people notice a big difference. Your back feels lighter, your breath moves more freely, and your core feels more awake.
That’s because your back muscles are finally allowed to rest. You’re giving them a break while your core steps in to do its job. This is the magic of reciprocal inhibition and decompression working together.
When you stand up afterward, you’ll likely feel taller, more balanced, and more aware of how your body moves.
Long-Term Movement Retraining
This flow is simple, but it’s powerful. Yes, it helps release tension in your lower back. But more importantly, it trains your body to move in a more supportive, core-connected way. The more consistently you practice it, the more you’ll build a solid foundation that carries into everything else you do — walking, lifting, standing, even just sitting at your desk.
Over time, this becomes your new baseline. Less compensation. More strength. More ease.
Try It and Let Me Know How It Feels
Give this flow a try today. Just five minutes on the floor with your breath and your core can shift your entire day.
Have you felt the difference when your core truly connects? I’d love to hear how it’s going for you. Drop a comment below and share your experience. Your story might help someone else get started.
And if you want a step-by-step plan for building core strength and better movement habits, check out our free 7-day trial. You’ll learn exactly how to reconnect with your body and move with more confidence and less pain.
Until next time, get down on the floor and connect to your core.